


Random width wood flooring
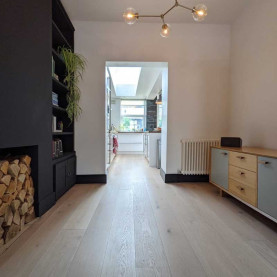
Mixing different widths of hardwood floors. Random width boards are a design feature that will make your wooden floor look more natural and relaxed. Our great-grandfathers were using the resources more efficient and...


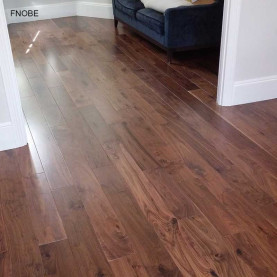
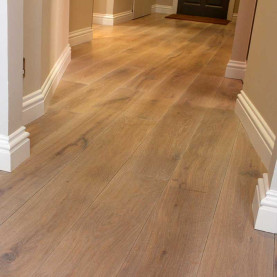
This project was slightly unusual for us, as it involved fitting a new wooden floor in an extension to match an existing oak wooden floor in the original part of the house. As wood flooring is such a long-lasting material, with good workmanship, we were able to match the two floors, so it was impossible to tell them apart. In the words of the client, “A good match was achieved between the old and the new floors. Changing from a lacquered to an oiled surface which shows the wood grain better. An excellent job. All done with skill and precision”.
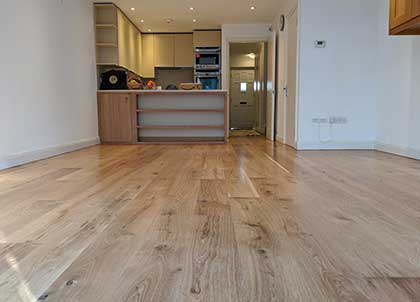
It’s impossible to tell the difference between the old and new floor
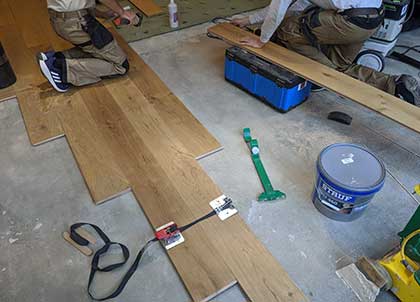
The new boards being slotted in with the older oak boards
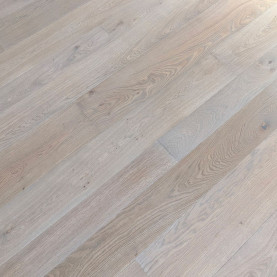
Our first challenge was to source suitable wooden boards with the same width and depth as the original. We found a good match, although at 190 mm wide they were slightly wider than the original 188 mm boards.
The ground floor was cleared of all furniture. As space was limited, everything was placed on pallets outside and then securely wrapped in tarpaulin to protect it from the British weather. The internal fixed furniture was protected with dust sheets.
The moisture content in the floor delayed the wood flooring installation by seven months. As a general rule, the top 40 mm will take 1 day for 1 mm to dry, while anything beneath this will take a day for every 2 mm. There are also other variables which need to be taken into consideration, such as the temperature and site conditions. We took several readings to ascertain the moisture content, but the evidence was right in front of us when we first visited the site, as the rubber mat by the door had moisture underneath it when lifted.
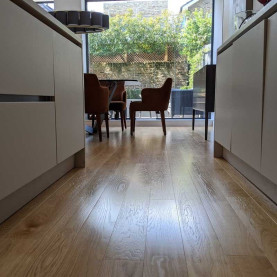
We returned to the site once the screed was dry and spent time discussing the fitting options with the client. We looked at running the new floor diagonally to the original and also laying a cross board to provide a break between the two floors. After careful consideration, we decided to trim the new wooden floors to match the original and create a seamless run.
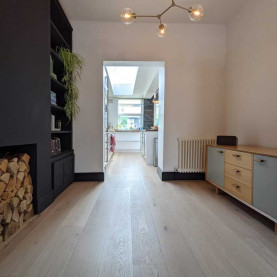
We decided to extend the flooring to the French doors
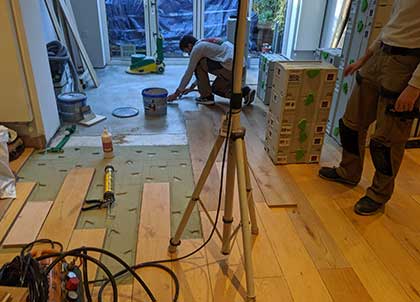
We laid a liquid damp proof membrane as a precaution against any residual moisture. We then began by lifting up the end boards, as these had been cut in a straight line to accommodate the original position of the French doors. After every cut board was removed, we routed out a new tongue and groove profile in the end boards, so the new flooring would slot into place. Finally, each new board was trimmed slightly, to allow for the 2 mm discrepancy in width. This was fiddly process, but essential for the seamless look.
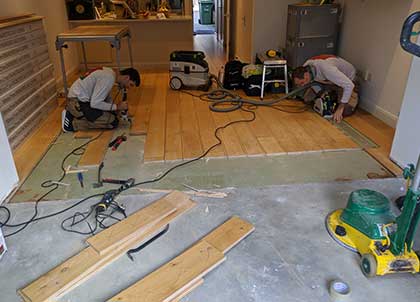
Taking up the end boards

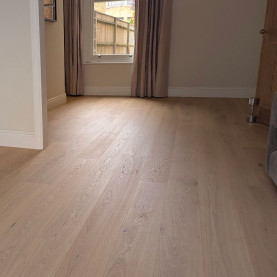
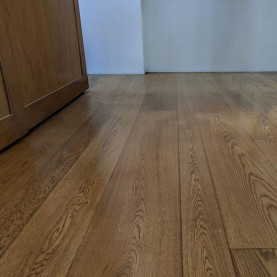
The old and new boards together before sanding and sealing
The original flooring had been installed as a floating floor, but our only option for the new floor was to glue it to the subfloor. This was because the new subfloor had a slight incline towards the garden, so the difference in the angles would create a rocking point. This potential problem was avoided by securely gluing the new boards in place. Find out more about the different installation methods.
To prevent grit and dirt entering the property, we created a framed door mat in the original flooring in the hallway. For us, the finishing details are so important, so with this in mind, we also created a seamless join with the bottom frame of the door in the open plan kitchen, allowing the floor to sit at the same level.

Creating the oak frame out of the older floorboards

The floor sits flush with the frame of the door
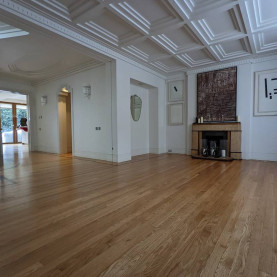
On completion, both floors were sanded. The original floor featured a lacquered finish, so this was completely removed before applying two coats of Osmo Satin Polyx oil on both surfaces.
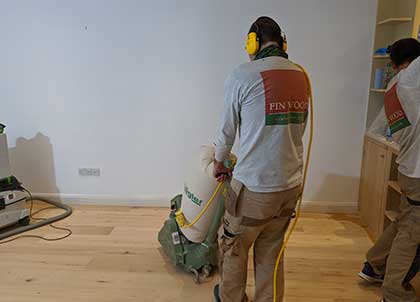
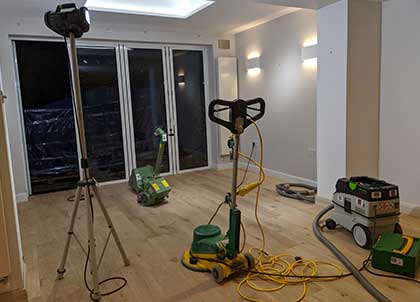
Sanding both flooring surfaces
Just a few of the tools needed for the job
In addition to the wood floor installation, we also made the kitchen island more practical and user-friendly for the client. As they didn’t use this area for seating, we built matching shelving to create extra storage. Other examples of our handcrafted furniture can be found here.

Converting the seating area of the island
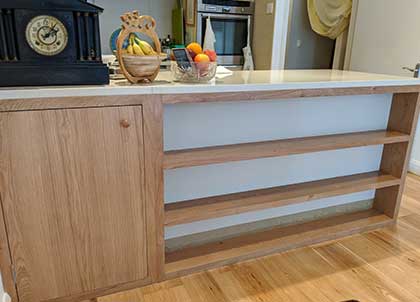
The fitted shelves and cupboard
If you have a project which appears to be a bit tricky, why not give us a call or contact here to see how we can help. We can always find a solution.
Location: Elephant and Castle SE11
Please sign in first.
Sign in