1970’s House Updated with Improved Subfloor & New Parquet Floor
In the case of wood flooring, preparation is key. If your subfloor isn’t strong and level, then a new wooden floor won’t ever look or perform as well as it should. For this project in a 1970’s house, we ripped out the old laminate floor to find huge holes in the subfloor. These had to be rectified before we could fit the new engineered oak parquet wood floor in the hall and living room.
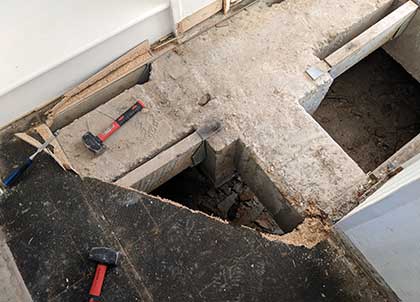
Removing the old floor revealed huge gaps in the subfloor
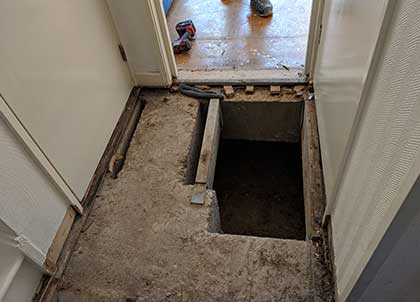
The subfloor waiting to be repaired
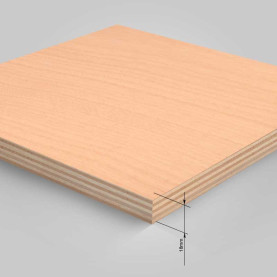
Unstable subfloors are a common problem in older properties, which we come across a lot, so we are very experienced in fixing this issue. The subfloor for this property consisted of old concrete pillars, insufficient wooden joists and cheap, worn chipboard. Extra joists were fitted for increased stability, followed by a good quality plywood, which was securely screwed and glued into place. The new parquet wooden floor, in engineered oak, could then be installed. The 400 mm blocks from The Natural Wood Floor Company were laid in a popular herringbone pattern, featuring the classic staggered zig zag design.
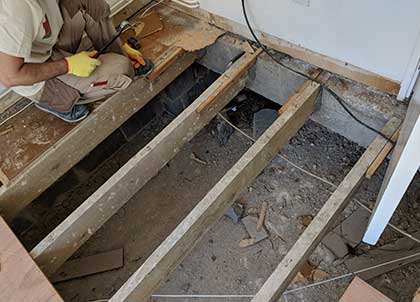
Screwing and gluing new joists into place

All ready for the plywood to be fitted on top
How to install parquet wood flooring
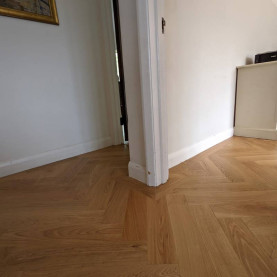
It’s really important to plan the design of the floor before the first block of wood is laid, as good alignment is crucial to create straight, symmetrical lines. For this project we started in the narrow hallway, and designed the floor so the tip of the herringbone would sit neatly in the middle at the narrowest point. The floor then continues from this area to flow seamlessly into the adjoining living room.

The parquet was fitted in the hall first, the border and tramlines were added at the end
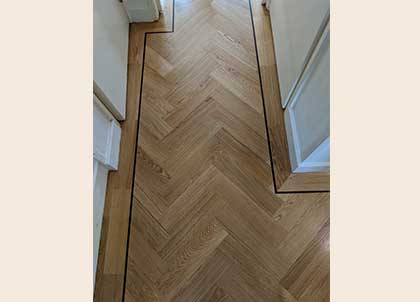
A perfect alignment
Parquet flooring tramline border
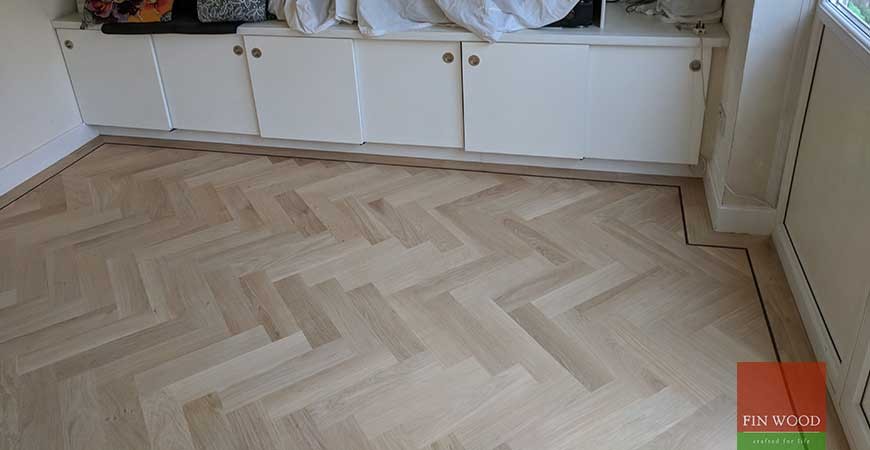
The detailing is important to us, as it elevates the look and feel of a wooden floor. This stunning two tone effect tramline highlights the border of the wood and defines the shape of the rooms. The thin pieces of wood were carefully cut on site and then fitted between the herringbone and straight single border, which was also crafted from the parquet blocks. We calculated the length of the border in advance, so all the blocks are evenly spaced, avoiding any small cuts of wood at the end of the run.
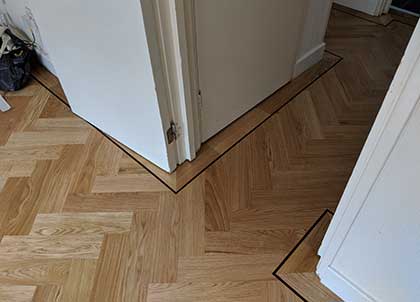
The darker tramline outlines the hall and living room

The two tone colours create a striking effect in the hall
Mitred corners for a professional fit
We always like to fit mitred corners which mirror the shape of the room, fitted furniture and architraves. It takes skill and expertise to achieve this look as the blocks of wood have to be carefully cut on site, so they sit tightly together.

Expertly cut mitred corners frame the architraves
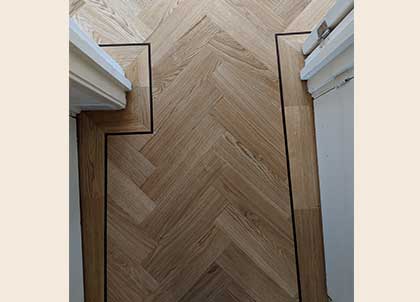
A bird’s-eye view of the mitred corners
Sealing unsealed engineered parquet flooring
Once a parquet wood floor is installed, it needs a final light sand to ensure that all the blocks are level. Instead of using a coloured oak tramline, we opted for Wenge, a naturally dark hardwood. This ensured that the darker wood tones were retained during sanding. The wood was sealed with two coats of Osmo Satin Clear, to enhance and protect the natural beauty of the timber.

Unsealed, freshly sanded wood is ready for sealing

The golden honey tones of the wood are enhanced with the clear finish
How can we help you?
We are hardwood flooring specialists with many years experience fitting and renovating wood floors. We take great care and pride in our work, as you will be able to see from our excellent reviews. If you would like us to provide a quote for your project, we’d love to hear from you.
Location: NW6 Kilburn, London


