How to level an uneven mineral subfloor before installing wood flooring? This brief guide covers mechanical preparation, moisture testing, damp proof membrane (DPM) application, latex leveling, and final inspection to ensure a flat, durable surface.
#CraftedForLife
Uneven concrete subfloors and hidden moisture are common issues in ground-floor flats, extensions, and garage conversions. Because concrete is often poured in stages, subfloors frequently feature height variations, gaps, and rough transitions that can ruin a wood floor installation if left unaddressed.
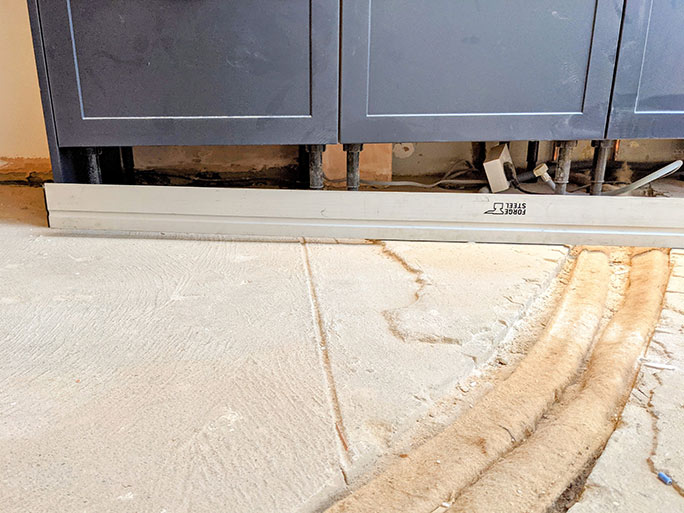
How to level an uneven mineral subfloor (Screed)
Floor level and moisture issues are incredibly common with concrete subfloors, especially in ground-floor flats, rear extensions, and garage conversions. Often, these floors are poured in different sections at different times, leaving behind large gaps, mismatched transitions, and stepping variations.
Leveling workflow
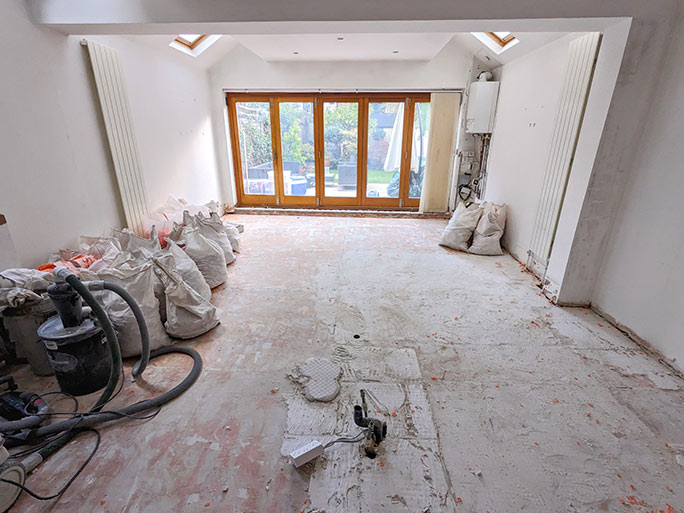
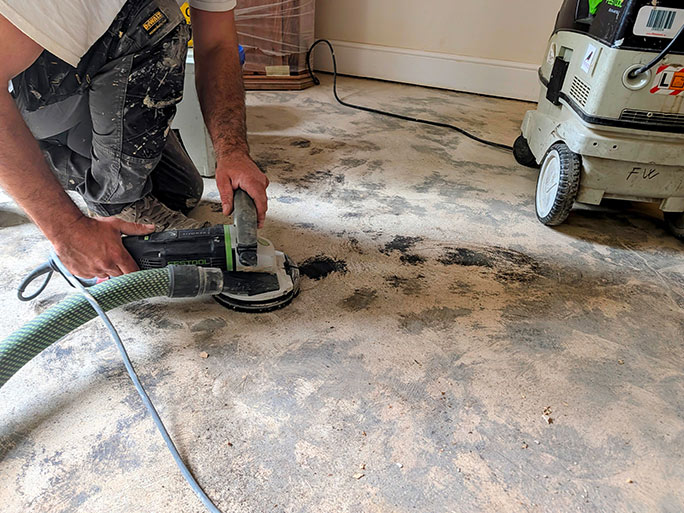
Mechanical grinding of an uneven concrete screed to remove old adhesive, flatten high spots, and prepare for leveling
Step 1: Mechanical preparation
For older screeds grinding machinery will be used to strip away any old black bitumen adhesive left behind by legacy parquet blocks. Similarly the old tile adhesives and plaster lumps will have to be removed. During this phase, we also mark out the absolute highest points of the concrete and mechanically grind them down, while cleaning, routing out, and structurally repairing any deep settling cracks.
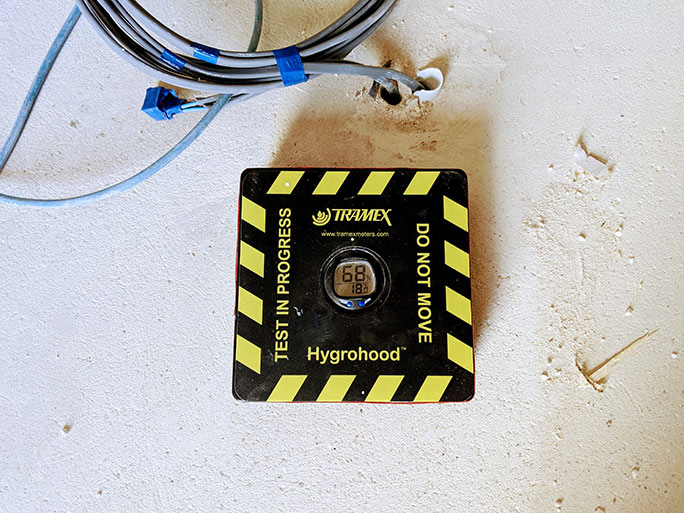
Testing concrete screed subfloor for relative humidity and moisture content before installing wood flooring
Step 2: Moisture Testing
Because concrete naturally transmits ground moisture via capillary action, a barrier is essential to prevent your new timber floor from absorbing water and cupping. To understand which solution is suitable the screed needs to be tested for moisture content.

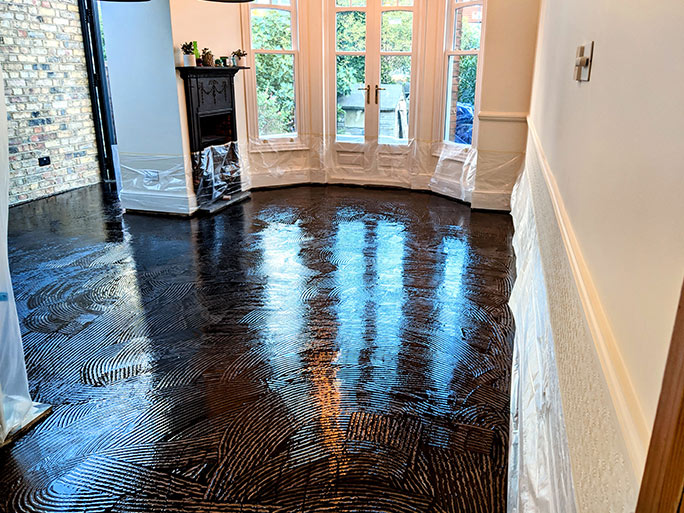
Applying the vapour or epoxy damp proof membrane (DPM)
Step 3: Applying the vapour or epoxy damp proof membrane (DPM)
In accordance with the moisture content readings a choice between PU (polyurethane) vapour membrane like Stauf VPU-155 S and Ardex DPM 1C will be made. In some situations the moisture content readings are ideal or low and no membrane will be technically required. If the surface is situated on a ground or basement level we strongly recommend applying Stauf VPU-155 S as precautionary measure.
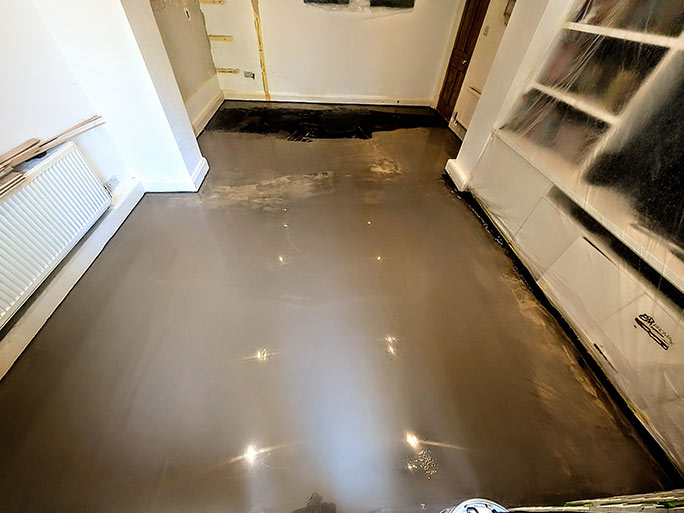
Applying polyurethane or epoxy damp proof membrane (DPM) to seal concrete screed against moisture before fitting wood floors
Step 4: Laying the latex self levelling compound
Once the DPM has cured, Arditex NA or similar, a specialized, protein-free latex self-levelling compound will be laid. While standard water-based screeds can take up to a month to dry out safely, this high-performance latex formula cures via chemical reaction rather than water evaporation. It achieves a walk-on hardness in just 2 hours. It is fully cured and safely ready to accept wood flooring installation after just 6 hours..
It features incredible versatility, capable of being feathered down to a knife-edge or built up to 10 cm deep in a single pour when mixed with added aggregate.
Final validation and manual checks of the leveled screed surface to ensure absolute flat tolerances before installing timber flooring
Step 5: Final validation
Even after using a self-levelling compound a manual check is mandatory. Before the wood adhesive touches the floor, the entire surface is to be checked. If any imperfections or slight high points remain near door tracks or flush transitions, they will be carefully grinded flat.

Book now